Laravel Passwordless Login, aka Magic Login links

Laravel Passwordless Login, Magic Login Links, or simply letting users login without providing a password are all different terms of one login mechanism that works like this:
- The user enters his email/phone number.
- The user submits the form.
- An email/SMS will be sent to the user.
- The user clicks on the link sent in the email/SMS
- The user is logged in
Simple yet efficient!
This flow of authentication is beneficial for both sides:
- For users, the experience will be much better because they will only need to provide their email address or phone number to register and to log in, no need to remember the password, in the same time, such thing will increase the security because we all know how weak are the passwords.
- For developers and website owners, they will stop worrying about managing passwords which is not a simple task to do.
In this article, we will implement this method of authentication on a Laravel 9 application, we will start from scratch, from the creation of a fresh Laravel application to generating and sending the login URL via email.
Let's start by creating a new Laravel application using Composer:
composer create-project laravel/laravel passwordless-login-app
Jump inside the project's folder:
cd passwordless-login-app
Open the project in the IDE you prefer and let's start by configuring the connection to the database in the
.env file:
DB_CONNECTION=mysql
DB_HOST=127.0.0.1
DB_PORT=3306
DB_DATABASE=passwordless_login_app_db
DB_USERNAME=root
DB_PASSWORD=
Before we run the migrations, we have some edits to do, first if you open the migration that creates users table:
database/migrations/2014_10_12_000000_create_users_table.php
You will find out that it contains a column for a password, since we are not going to need passwords, we can delete it:
Schema::create('users', function (Blueprint $table) {
            $table->id();
            $table->string('name');
            $table->string('email')->unique();
            $table->timestamp('email_verified_at')->nullable();
            // $table->string('password'); << delete this line
            $table->rememberToken();
            $table->timestamps();
        });
Let's not forget to remove the password attribute from User Model's $fillable array:
app/Models/User.php
protected $fillable = [
        'name',
        'email',
        // 'password', << delete this line
    ];
Next, let's delete the migration that creates the password resets table:
database/migrations/2014_10_12_100000_create_password_resets_table.php
We can now run our migrations:
php artisan migrate
Since we're going to send the login URL via email, we need to configure our application to be able to send emails, I'll use Mailtrap, let's open our .env and start editing:
MAIL_MAILER=smtp
MAIL_HOST=smtp.mailtrap.io
MAIL_PORT=2525
MAIL_USERNAME=YOUR_MAIL_USERNAME
MAIL_PASSWORD=YOUR_MAIL_PASSWORD
MAIL_ENCRYPTION=tls
At this point, we can start working on the flow itself, we will use a package called laravel-passwordless-login.
Let's install it:
composer require grosv/laravel-passwordless-login
Now we need two routes, the first one is for the page where the user can enter his email address, and the second one will handle the form submission.
Let's add them:
routes/web.php
use App\Http\Controllers\AuthController;


Route::get('/login', [AuthController::class, 'loginForm'])->name('login');
Route::post('/login', [AuthController::class, 'sendLoginLink'])->name('loginPost');
Let's create the AuthController that we used in the routes:
php artisan make:controller AuthController
AuthController will have two functions, here is the the whole controller:
<?php

namespace App\Http\Controllers;

use App\Models\User;
use Grosv\LaravelPasswordlessLogin\LoginUrl;
use Illuminate\Http\Request;
use Illuminate\Support\Facades\Mail;

class AuthController extends Controller
{

    function loginForm()
    {
        return view('auth.login');
    }

    function sendLoginLink(Request $request)
    {
        $user = User::whereEmail($request['email'])->first();

        $generator = new LoginUrl($user);
        $url = $generator->generate();

        $content = "<a href=" . $url . ">" . $url . "</a>";
        Mail::html($content, fn ($message) =>
            $message->to($request['email'])
                ->subject("Your magic login link")
                ->from("email@example.com")
        );

        return view('auth.login', ['emailIsSent' => true]);
    }
}
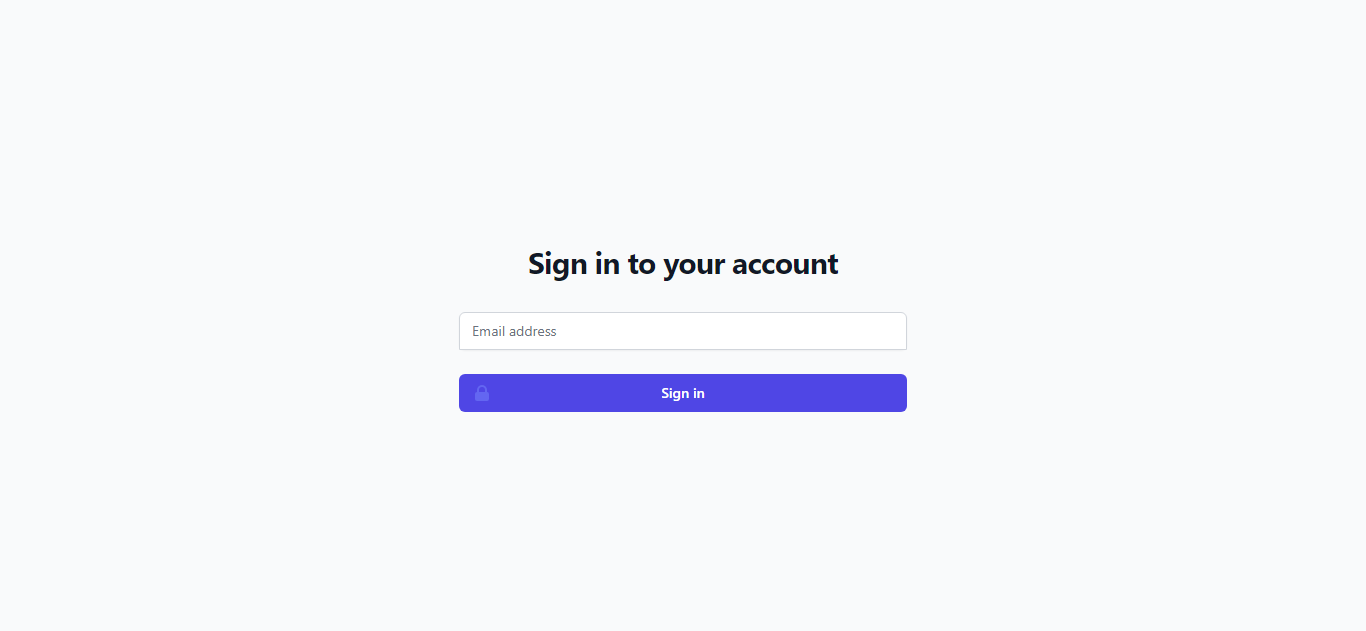
Let's talk about what's inside it, first, we have the loginForm function which simply returns a view where the user can enter his email, here is how it looks:
Create that view called login in resources/views/auth
resources/views/auth/login.blade.php
And here is its code:
<!DOCTYPE html>
<html lang="en" class="h-full bg-gray-50">

<head>
    <meta charset="UTF-8">
    <meta http-equiv="X-UA-Compatible" content="IE=edge">
    <meta name="viewport" content="width=device-width, initial-scale=1.0">
    <script src="https://cdn.tailwindcss.com"></script>
    <title>Login</title>
</head>

<body class="h-full">
    <div class="min-h-full flex items-center justify-center py-12 px-4 sm:px-6 lg:px-8">
        <div class="max-w-md w-full space-y-8">
            @if (isset($emailIsSent))
            <h2 class="mt-6 text-center text-3xl tracking-tight font-bold text-gray-900">The magic login link has been sent to your email!</h2>
            @else
            <h2 class="mt-6 text-center text-3xl tracking-tight font-bold text-gray-900">Sign in to your account</h2>
            <form class="mt-8 space-y-6" action="{{ route('loginPost') }}" method="POST">
                @csrf
                <div class="rounded-md shadow-sm -space-y-px">
                    <div>
                        <label for="email-address" class="sr-only">Email address</label>
                        <input id="email-address" name="email" type="email" autocomplete="email" required
                            class="appearance-none rounded-none relative block w-full px-3 py-2 border border-gray-300 placeholder-gray-500 text-gray-900 rounded-t-md focus:outline-none focus:ring-indigo-500 focus:border-indigo-500 focus:z-10 sm:text-sm"
                            placeholder="Email address">
                    </div>
                </div>


                <div>
                    <button type="submit"
                        class="group relative w-full flex justify-center py-2 px-4 border border-transparent text-sm font-medium rounded-md text-white bg-indigo-600 hover:bg-indigo-700 focus:outline-none focus:ring-2 focus:ring-offset-2 focus:ring-indigo-500">
                        <span class="absolute left-0 inset-y-0 flex items-center pl-3">
                            <!-- Heroicon name: solid/lock-closed -->
                            <svg class="h-5 w-5 text-indigo-500 group-hover:text-indigo-400"
                                xmlns="http://www.w3.org/2000/svg" viewBox="0 0 20 20" fill="currentColor"
                                aria-hidden="true">
                                <path fill-rule="evenodd"
                                    d="M5 9V7a5 5 0 0110 0v2a2 2 0 012 2v5a2 2 0 01-2 2H5a2 2 0 01-2-2v-5a2 2 0 012-2zm8-2v2H7V7a3 3 0 016 0z"
                                    clip-rule="evenodd" />
                            </svg>
                        </span>
                        Sign in
                    </button>
                </div>
            </form>
            @endif
        </div>
    </div>
</body>

</html>
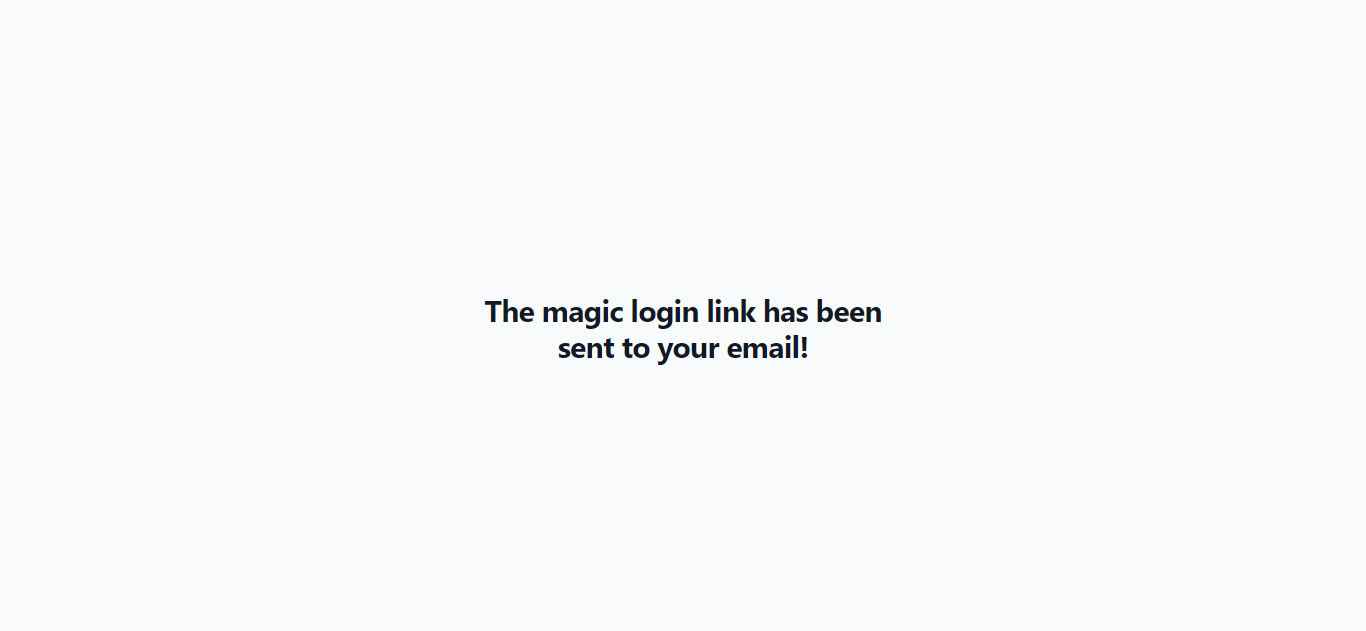
Very simple, the only thing I have to explain here, is the $emailIsSent variable, I used it just so I can use one view for two purposes, if the variable $emailIsSent is not set, the page will contain a form where the user can enter his email, if it is set then the page will show a message that says the magic login link is sent ($emailIsSent will be set in the sendLoginLink function after we send the login link), I think you got it.
In the second function, which is sendLoginLink, we find the user by the email from the request:
$user = User::whereEmail($request['email'])->first();
Then, using the package we installed (laravel-passwordless-login), we generate a magic login link:
$generator = new LoginUrl($user);
$url = $generator->generate();
After generating the login link, we send it to the user via email:
$content = "<a href=" . $url . ">" . $url . "</a>";
        Mail::html($content, fn ($message) =>
            $message->to($request['email'])
                ->subject("Your magic login link")
                ->from("email@example.com")
);
Finally, we return the login view with the emailIsSent variable which means the view will show a message that says the magic login link is sent:
return view('auth.login', ['emailIsSent' => true]);
The user clicks on the link sent in email and he will be logged in!
To try, make sure to create a test user:
php artisan tinker
User::create(['name'=>'test user', 'email'=>'test@test.com'])
To edit where the user is redirected after he clicks on the login link, give a value to LPL_REDIRECT_ON_LOGIN in .env, its default value is / (LPL_REDIRECT_ON_LOGIN=/).
For more configurations and information, visit the page of the package on Github: Laravel-Passwordless-Login.
Thank you for reading ❤
What do you think this flow of authentication ?
Are you already using it ?
Will you use it in your future projects ?


